
What Is the Difference Between Broth and Stock?
Broth and stock both start with simmering bones, vegetables, and water, but they’re not the same thing. In my 24 years working professional kitchens, stock was always the clear, unsalted liquid we built sauces from, while broth was the seasoned, sippable soup we served on its own. The main difference comes down to three things: whether the liquid is salted, how long it simmers, and what you do with it afterward.
What Actually Separates Broth From Stock

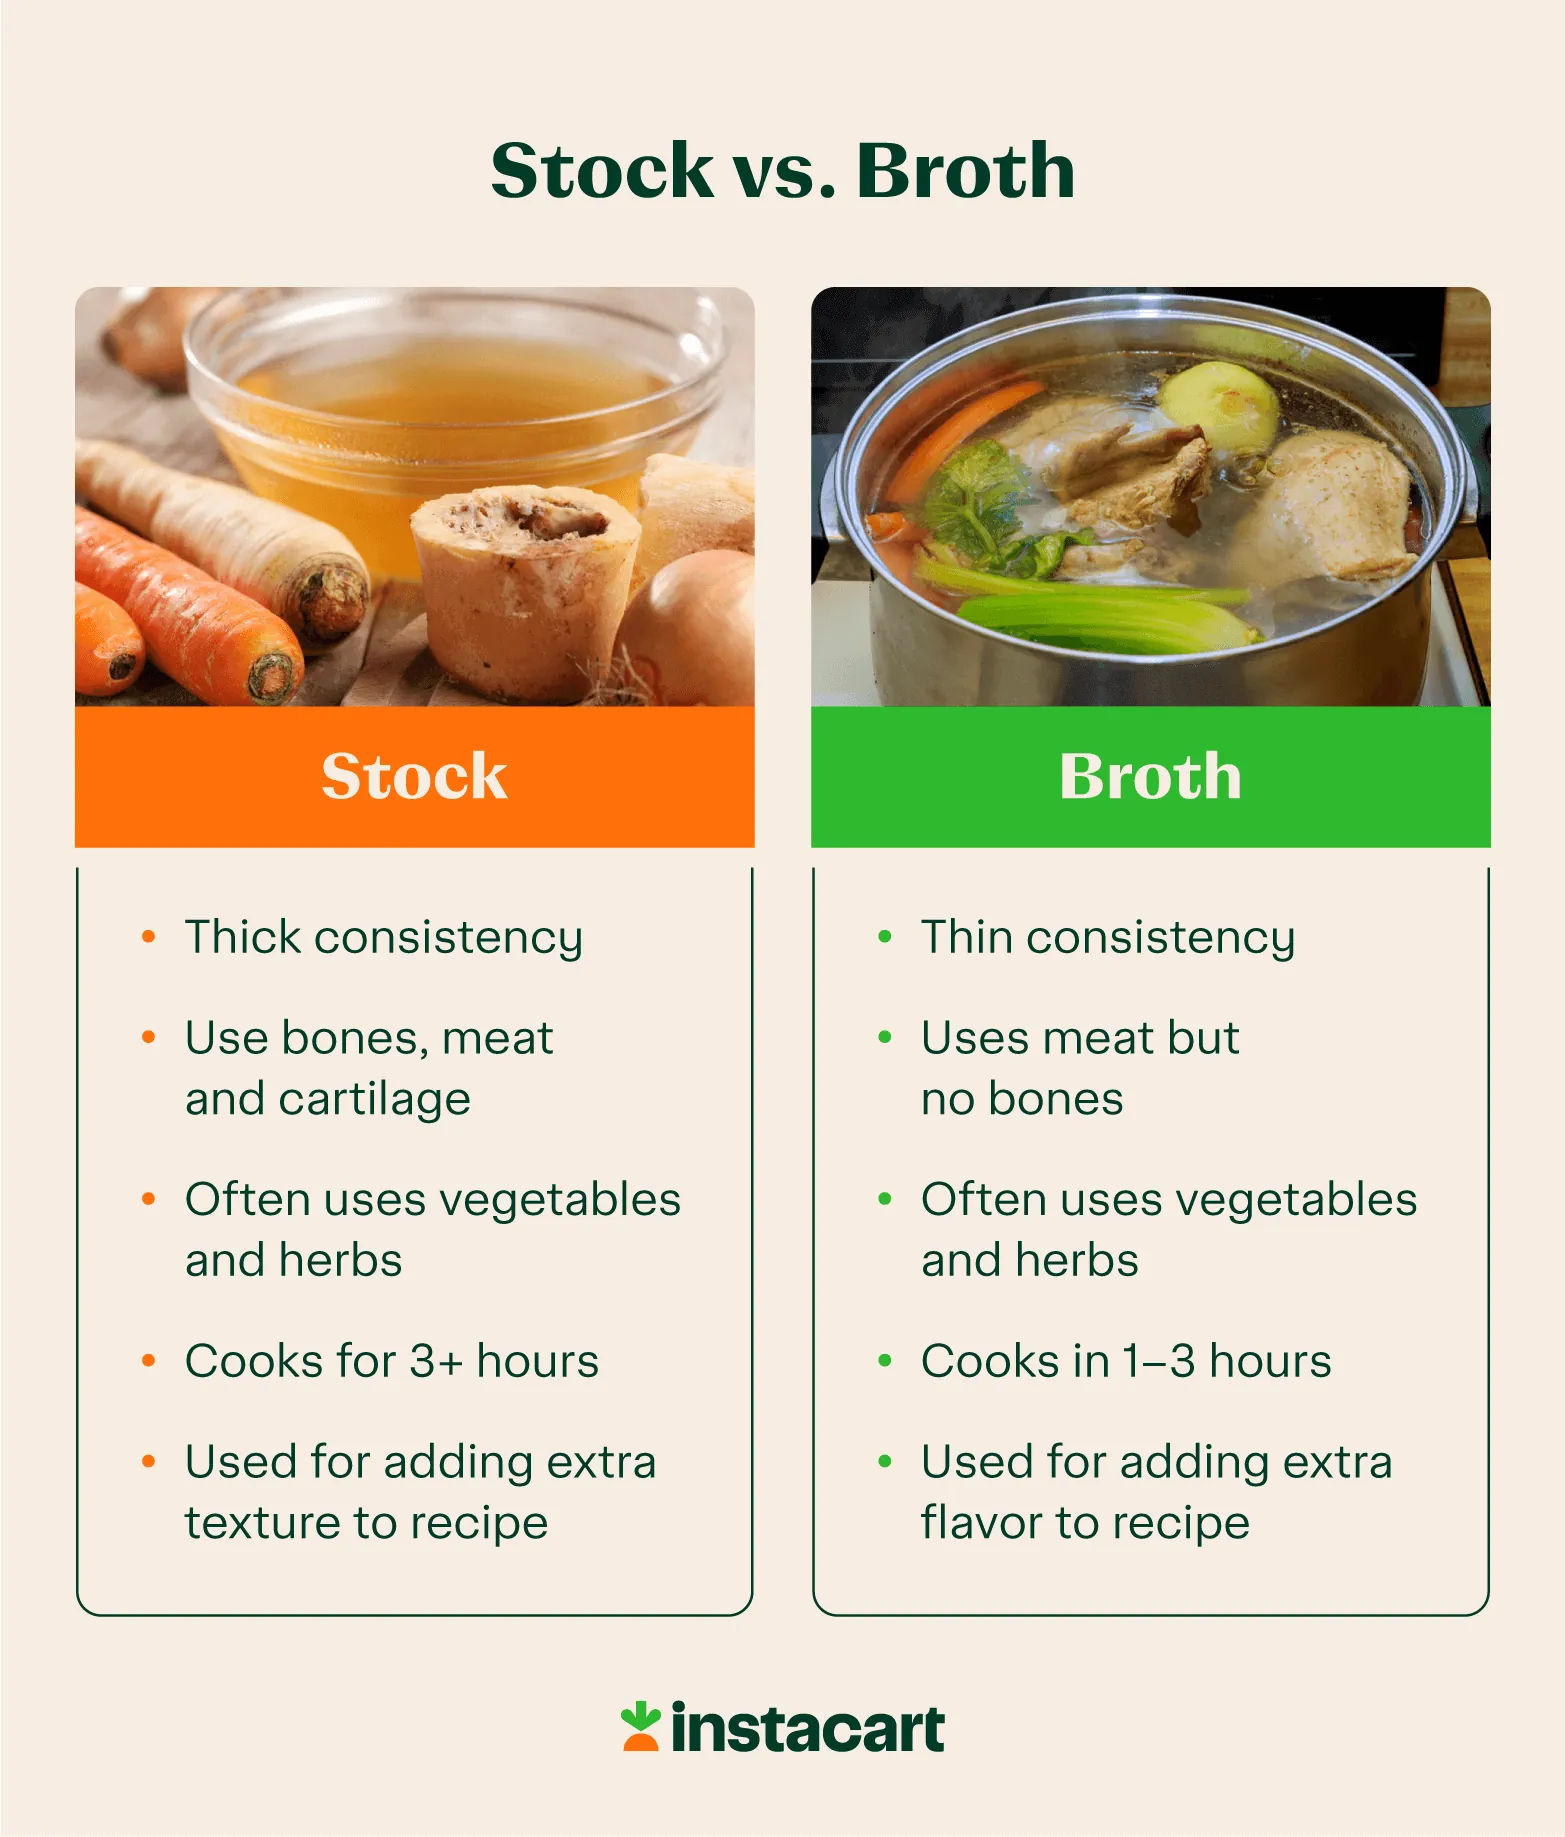
Stock is made mostly from bones, simmered long and slow, and left unsalted. Broth is made from meat, sometimes with a few bones, simmered for a shorter time, and seasoned with salt and often aromatics. That’s the whole difference in one line.
The bones are what give stock its body. When bones simmer for hours, collagen breaks down into gelatin, and that gelatin is what makes a good stock turn slightly thick and wobbly once it cools in the fridge. Broth stays thin because there’s less bone and less time.
Here’s how they compare side by side:
| Stock | Broth | |
|---|---|---|
| Main ingredient | Bones, often roasted first | Meat, sometimes with bones |
| Simmer time | 4 to 8 hours | 1 to 2 hours |
| Salt | None added | Salted to taste |
| Texture when cold | Gelatinous, slightly set | Thin, stays liquid |
| Best used for | Sauces, gravies, risotto, pan deglazing | Soups, sipping, cooking grains |
If you’re following a recipe that calls for one and you only have the other, don’t panic. The swap works in most home cooking, with one adjustment I’ll get to below.
How to Make Each One at Home
Making both is simpler than most people think. The method is nearly identical — only the time and the seasoning change.
- Save your scraps. Keep bones, chicken backs, onion ends, carrot peels, and celery tops in a bag in the freezer. When the bag is full, you’re ready.
- Roast the bones for stock. Spread them on a sheet pan and roast at 400°F for about 30 minutes until browned. This step is what gives stock its deep color and flavor. Skip it for broth.
- Cover with cold water. Put everything in a pot and add cold water until it sits about an inch above the ingredients. Cold water start gives you a cleaner liquid.
- Bring to a bare simmer. Once it bubbles, drop the heat to low. A hard boil clouds the liquid and can make it taste muddy.
- Skim the foam. In the first 20 minutes, spoon off the gray foam that rises. This keeps the final liquid clear.
- Simmer for the right time. Stock needs 4 to 8 hours. Broth needs only 1 to 2 hours. Longer isn’t better for broth — the meat turns to mush.
- Strain and cool quickly. Pour through a fine strainer, then cool the pot in an ice bath before refrigerating.
Tip: Never salt stock while it cooks. You’ll reduce it later for sauces, and salt concentrates as liquid evaporates — an unsalted stock can’t be fixed once it’s too salty.
The Mistakes That Ruin a Good Pot
The biggest mistake home cooks make is boiling instead of simmering. A rolling boil pulls fat and particles into the liquid, and you end up with a cloudy, greasy result that costs you the clean flavor you were after.
The second mistake isn’t skimming. That foam isn’t harmful, but leaving it in gives you a bitter, murky liquid that no amount of straining fixes later.
The third one hurts the most: adding salt to stock. If you season stock and then reduce it for a sauce, it can turn inedibly salty, and you’ve wasted hours of work.
The exact simmer time depends on your pot, your stove, and how big the bones are. Small chicken bones give up their flavor faster than thick beef bones. Go by how the liquid tastes and looks, not just the clock.
When to Use Which One
Use stock when the liquid needs to disappear into a dish. Sauces, gravies, risotto, and pan deglazing all benefit from stock’s body and its lack of salt, because you control the seasoning yourself.
Use broth when the liquid is the dish. A bowl of chicken soup, a pot of rice, or a simple sipping cup all want broth’s ready-to-eat seasoning.
If you’re swapping one for the other, taste as you go. Broth already has salt, so cut back on added salt in your recipe. Stock has no salt, so you’ll need to season more than the recipe says. This is where a quick taste saves the dish.
Related guides
Frequently Asked Questions
Can I use broth instead of stock in a recipe?
Yes, in most home recipes it works fine. Just remember broth is already salted, so reduce or skip the salt your recipe calls for. For a delicate sauce where you want full control, stock is still the better choice.
Is store-bought broth the same as homemade?
No. Most cartons labeled broth are lightly flavored and thin, and many contain added yeast extract or flavorings. Homemade has more body and a cleaner taste, which is why I still make my own when I have the time.
How long does homemade broth or stock last?
Refrigerated, both keep about 4 days. For longer storage, freeze them — ice cube trays work well for small amounts you can drop straight into a pan. The USDA FoodSafety.gov cold storage chart lists 3 to 4 days for refrigerated stock and broth.
Conclusion
Start with broth if you’re new to this — it’s faster, forgiving, and ready to eat. Once you’ve got the feel for skimming and simmering, try a batch of stock and freeze it in small portions. That stash of unsalted stock is what separates a quick weeknight sauce from a great one.

I’m passionate about helping home cooks make everyday cooking easier, smarter, and more enjoyable. I share practical kitchen tips, cookware guides, cooking tutorials, and simple recipe inspiration based on real kitchen experience and modern home cooking needs.